Global Pipeline Knowledge
Three-Layer Polyethylene Field Joint Coatings: Application Steps
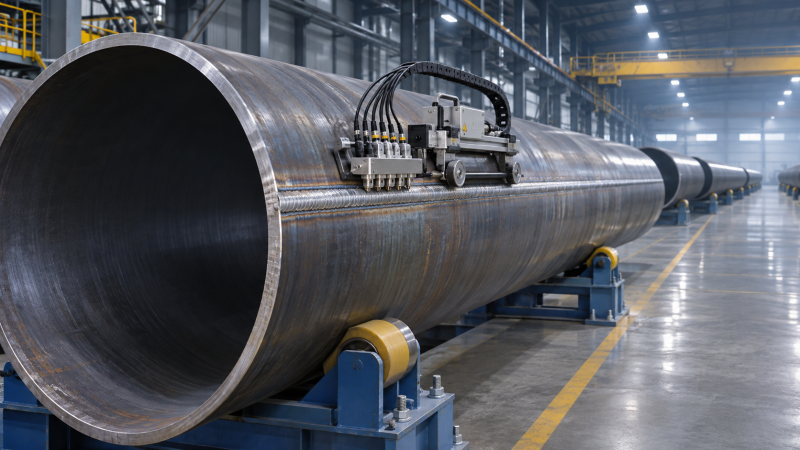
Three-Layer Polyethylene Field Joint Coatings are applied where pipe sections have been welded together and the factory coating was deliberately left short of the pipe ends. For a field crew, the job is to create a continuous protective system across the exposed steel and onto the existing coating, without damaging either the weld area or the mainline coating.
The application sequence generally runs from weld acceptance and surface preparation through heating, coating installation, cooling, and inspection. The exact order and conditions depend on the qualified field-joint system. A heat-shrink sleeve with a liquid epoxy primer, for example, may require different preparation, heating, and cure controls from another approved system. The crew should work to the system-specific application procedure and project specification, not assume that a procedure used on a previous line will produce the same result.
Start with the approved system and a ready joint
Before preparing the steel, establish which materials and procedure have been approved for the pipe, mainline coating, installation method, and operating conditions. The field-joint coating must bond to the exposed steel and form the specified overlap onto the factory-applied polyethylene. Its resistance to handling and installation damage also matters: a joint that looks sound immediately after application can still be damaged by rollers, backfill, lowering-in, or offshore installation equipment.
A typical field-joint system uses an epoxy primer on the steel, a bonding adhesive, and an outer polyethylene-based protective layer. The latter components may be supplied as part of a heat-shrinkable sleeve. Do not assume that every field-applied system reproduces the factory coating process layer for layer; the materials, application sequence, and acceptance criteria are defined by the approved system.
Check that the weld has completed the required inspection and has been released for coating. Grinding, weld repair, or further examination after coating will interrupt the protective system and require an approved repair. The joint area also needs enough access for blasting, temperature measurement, heating, sleeve installation, and inspection around the full circumference, including the underside.
Before work begins, the crew should have the approved procedure available along with the required inspection equipment. Important checks include:
- Material identification: Confirm that the primer, sleeve, closure, and any repair materials match the approved system, are within their permitted shelf life, and have been stored as specified.
- Joint dimensions: Verify the bare steel width, sleeve dimensions, and required overlap on both sides. An uneven cutback or unusually wide weld area can leave too little overlap.
- Equipment readiness: Check surface-preparation equipment, heating equipment, temperature-measuring instruments, and holiday-detection equipment against the procedure and applicable calibration requirements.
- Site conditions: Determine whether rain, wind, dust, low steel temperature, or restricted access could prevent the specified surface and application conditions from being maintained.
If the joint geometry or coating cutback falls outside the qualified arrangement, resolve it before heating or mixing primer. Stretching the intended application window to suit the joint can leave an inadequately bonded edge or an unprotected transition.
Prepare the steel and the mainline coating
Remove oil, grease, salts, moisture, and other contamination using the methods specified for the system. Visible cleanliness alone does not establish that a surface is suitable for coating: contaminants left on the steel can interfere with adhesion even when the joint appears freshly blasted.
Inspect the weld and adjacent steel for sharp projections, spatter, laminations, and other surface conditions that could prevent the coating from conforming or create thin spots. Treat them as required by the project procedure, without removing material in a way that compromises the pipe or weld. Where the coating procedure calls for it, smooth the transition at the edge of the factory coating so the field-joint material can bridge onto it without a pronounced step or void.
Blast-clean the exposed steel to the specified cleanliness and surface profile. The profile provides an anchor for the primer, but a rougher surface is not automatically better: both insufficient and excessive profile can cause application or inspection problems. Verify cleanliness and profile using the methods and acceptance criteria in the approved procedure. Where soluble-salt testing is required, carry it out at the specified stage and address any result outside the project limit before coating.
The factory coating in the overlap area also needs preparation. Depending on the system, this can involve cleaning and controlled abrasion of the polyethylene surface. Abrasion should extend over the required overlap without cutting through or damaging the parent coating. Remove dust and loose material afterward, and keep the prepared surfaces clean until application.
Prepared steel can deteriorate quickly in damp or contaminated conditions. Check steel temperature, air temperature, and humidity as required, including the specified margin above dew point. If condensation forms, flash rust appears, or the joint becomes contaminated before coating, stop and restore the surface in accordance with the procedure. Heating a wet or dirty surface does not make it ready for primer.
Heat, prime, and install the field-joint coating
Once the joint has passed preparation checks, apply heat in the sequence required by the selected system. Heating serves different purposes in different systems: it may bring the steel to the primer application temperature, support primer cure, activate an adhesive, or shrink a sleeve. Those functions should not be treated as interchangeable.
Measure temperature at the locations and frequency specified by the procedure, including around the pipe circumference where practical. The top of a pipe can be warmer than the underside, particularly where wind, pipe supports, or restricted access affect heating. A single reading at an easily reached point may therefore miss a cold area. Equally, excessive or concentrated heat can damage the factory coating, degrade sleeve material, or affect the primer.
Apply the primer
Where the approved system uses a liquid epoxy primer, prepare and mix it according to its instructions. Pay attention to component proportions, mixing time, induction time if specified, and usable pot life. Do not add solvent or use a partially set mixture unless the system expressly permits it.
Apply the primer over the required steel area at the specified temperature and coverage or thickness. Work around the weld and the underside of the joint so that there are no missed areas. The procedure should also define whether primer extends onto the prepared factory coating and how the primer is checked before the next layer is installed.
Timing is important. Some systems require the sleeve to be applied while the primer is in a defined condition; others specify a different sequence or cure interval. Installing the outer layer too early or too late can compromise the intended bond. Follow the approved recoat or installation window, and use the prescribed checks rather than judging readiness solely by appearance.
Install and shrink the sleeve
Position the sleeve to cover the joint with the specified overlap on both sides. Keep the adhesive surface clean and arrange the closure as directed by the manufacturer. If the sleeve becomes contaminated during positioning, follow the approved disposition rather than trapping dirt beneath it.
Heat the sleeve using the prescribed pattern and equipment, maintaining flame or heat movement to avoid localized overheating. The goal is complete, uniform recovery and contact across the weld, adjacent steel, and prepared mainline coating. Particular attention is needed at the closure, the coating edges, and the underside, where wrinkles, bridging, or incomplete contact can be harder to see.
Use any specified roller or finishing method to help seat the sleeve and work out trapped air, but do not treat rolling as a substitute for correct heating and positioning. Signs such as adhesive flow at the sleeve edges may be relevant where the system identifies them as acceptance indicators. They do not, on their own, prove adequate adhesion or primer cure.
Allow the coating to cool and, where required, complete its cure before handling or testing. The permitted condition for holiday detection, adhesion testing, lowering-in, or other operations may differ. Moving the joint too soon can disturb the bond or mark an outer layer that has not reached the required handling condition.
Inspect the finished joint before it is covered
Inspection should establish both that the coating was applied within the approved process limits and that the finished joint meets the project’s acceptance criteria. A sound visual appearance is necessary, but it is not enough to demonstrate continuity or bond quality.
Visually examine the full circumference for damage, wrinkles, voids, bridging, unsealed edges, incomplete overlap, overheating, exposed steel, and other defects identified in the procedure. Check the closure and the transition onto the factory coating carefully. Confirm dimensions and any required thickness measurements using the specified methods and locations.
Perform holiday detection when the coating is in the condition required by the procedure. The test method and voltage must be appropriate for the coating system and thickness; excessive voltage can damage coating, while an unsuitable setting may fail to reveal a discontinuity. The operator should also check the equipment and electrical connection as specified and test the whole accessible surface, including transitions and repairs.
Adhesion, peel, cure, or other tests may be required during procedure qualification, at a specified production frequency, or when an application is in doubt. Their applicability and acceptance limits belong to the project specification and system procedure. A destructive adhesion test can damage an otherwise acceptable joint, so its location, frequency, and subsequent repair should be controlled.
Record enough information to connect the finished joint with its application and inspection history. Depending on project requirements, that can include the joint number, date, applicator, material batch, surface preparation results, environmental readings, temperature checks, inspection results, and repairs. The record is especially useful when a recurring problem needs to be traced to a batch, condition, or work sequence.
When a joint fails inspection
Do not cover, backfill, or send a rejected joint into the next installation operation while its disposition remains open. Mark and document the defect, then assess whether the approved repair procedure permits a local repair or requires removal and reapplication of the field-joint coating. The answer depends on the defect, its extent, and the coating system.
For example, a small area of mechanical damage may be repairable with an approved patch after the affected surface is prepared. A large unbonded region, contaminated interface, or coating applied outside the qualified temperature window may require more extensive removal. Simply heating a suspect sleeve again is not a general remedy: it cannot reliably correct trapped contamination, an improperly prepared surface, or a primer applied outside its permitted window.
Reinspect the repaired area using the tests and acceptance criteria specified for the repair. Before the joint is released, also check that adjacent factory coating was not damaged during removal or rework.
Protect the coating through installation
Acceptance at the coating station is a checkpoint, not the end of the application sequence. Plan lifting, support, lowering-in, and backfilling around the coating’s permitted handling condition and the pipeline’s installation demands. Contact points, abrasive padding, rocks, rollers, and movement against supports can all damage a newly coated joint.
Where the project requires a final inspection before burial or another operation that makes the joint inaccessible, complete it after activities that could have caused damage. For offshore work, consider the loads and contact surfaces associated with the selected installation method when qualifying and inspecting the coating system.
When the joint has passed its required checks, its records are complete, and the coating has reached the specified condition for the next operation, it can be released. Keeping that release tied to the approved system and actual installation sequence gives the field team a practical way to protect the continuity established at the joint.
Related Industries
Trending in Tech
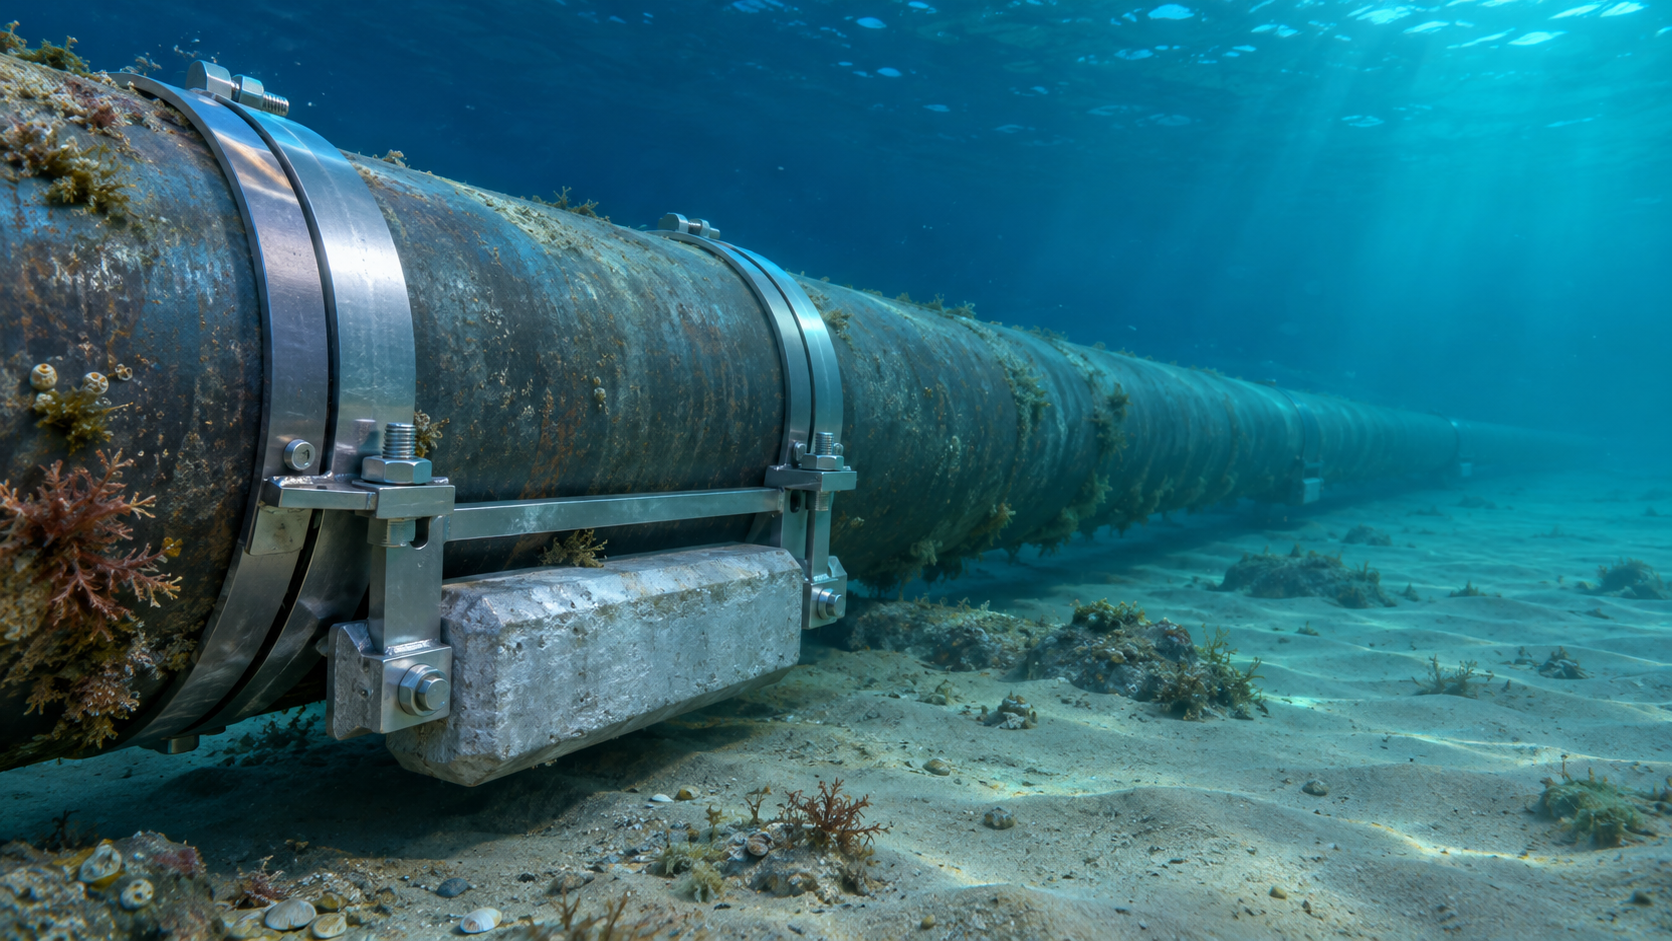
 Subsea Anode Retrofit Clamps: Sizing for Corrosion Protection LifeNov 06, 2026
- Global Project Radar: Tracking Pipeline Projects From Bid to AwardNov 06, 2026
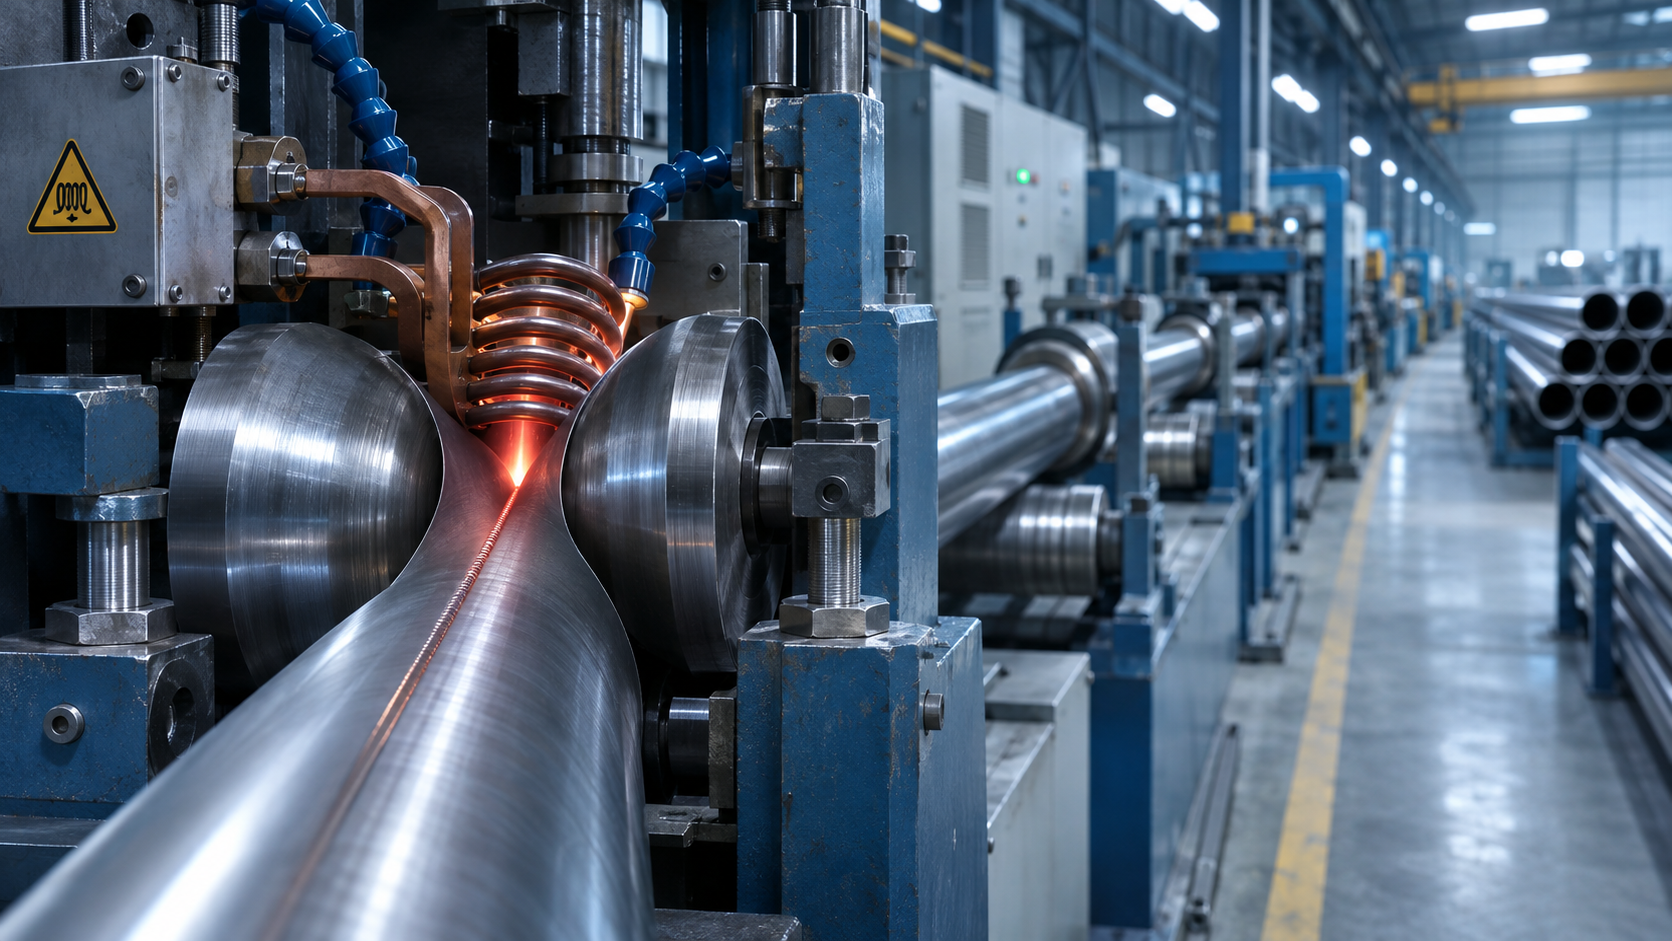
- High-Frequency Induction Welded Pipe: Weld Quality and Heat InputNov 06, 2026
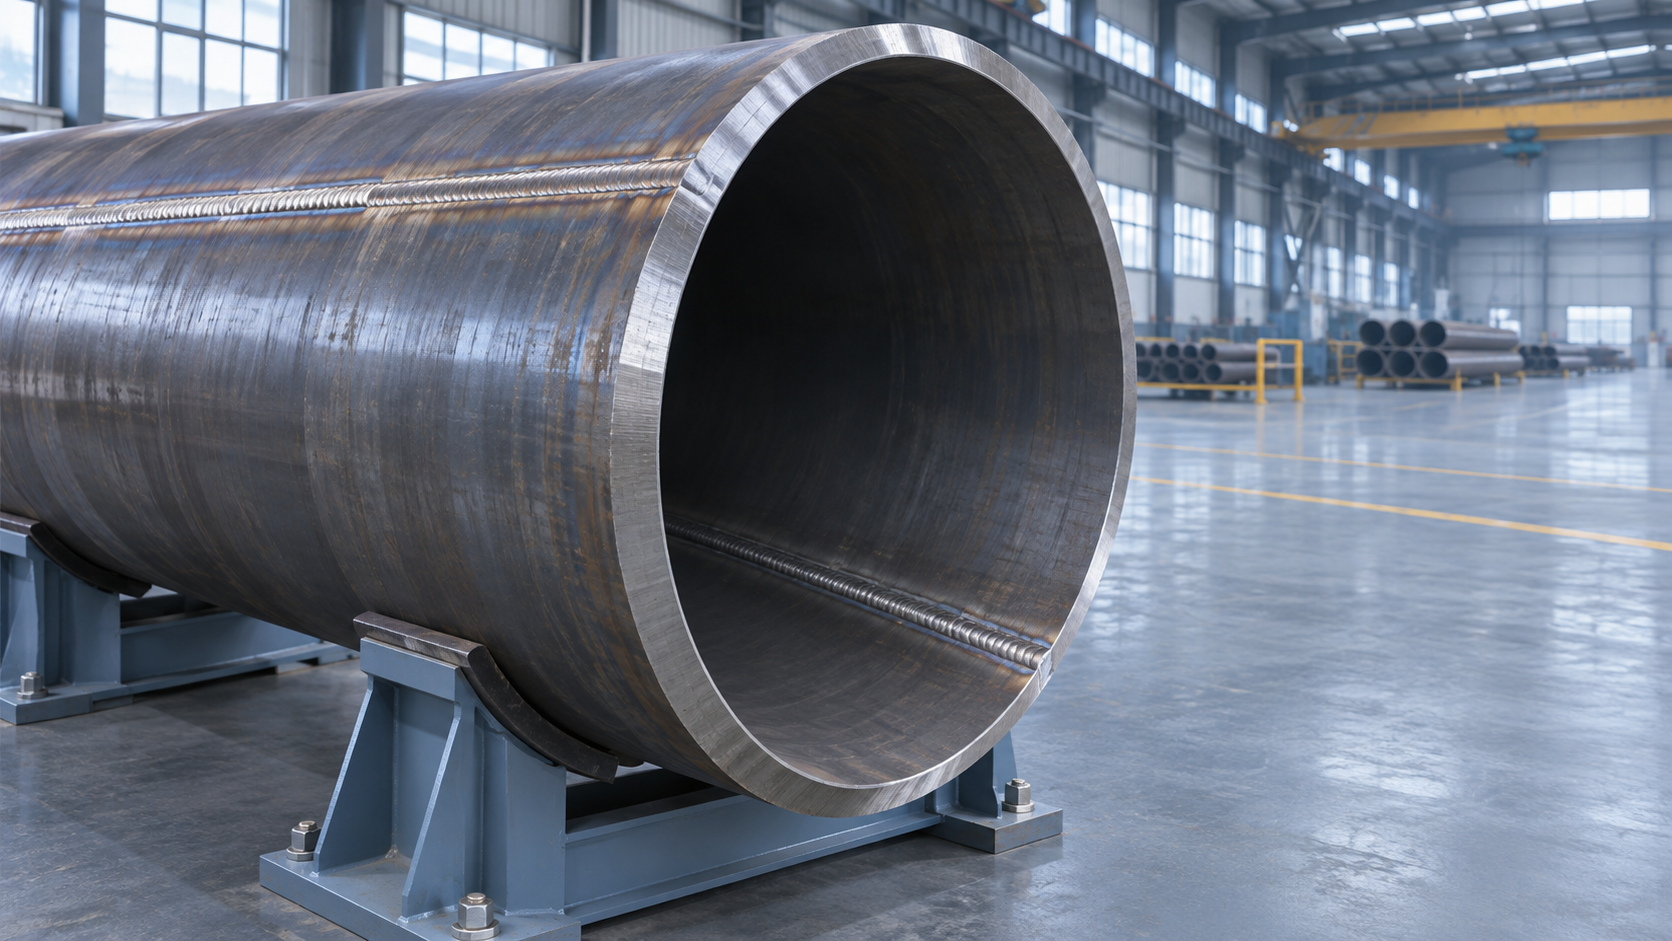
- Double Submerged Arc Welded Pipe: What to Check Before OrderingNov 06, 2026

Weekly Insights
Stay ahead with our curated technology reports delivered every Monday.
Questions about pipe blasting or corrosion protection? Leave a message for technical insights from GPIC.
We respect your privacy. Your information is strictly confidential.
Recommended News