Global Pipeline Knowledge
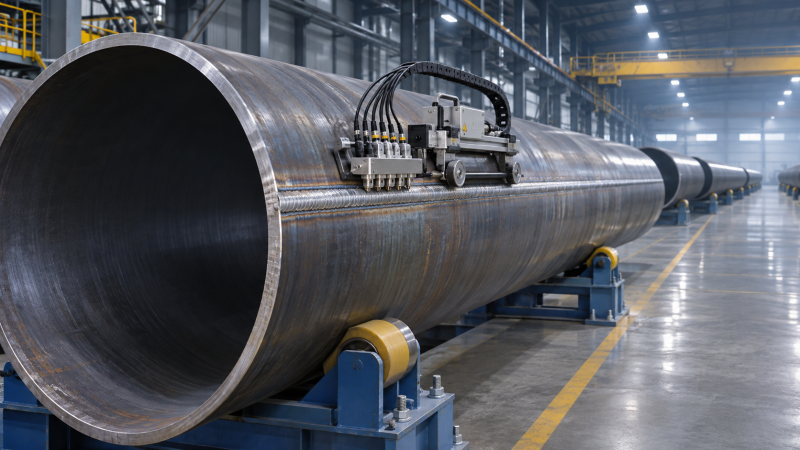
Applying Pipeline Coating Tape on Field Joints: Prep and Overlap
A field joint is only as well protected as the bond between the prepared steel, the tape system, and the adjacent factory coating. Inadequate cleaning can leave contamination beneath an apparently smooth wrap; incorrect overlap can leave too little material or create ridges and trapped air. Neither problem is reliably corrected by adding more tape after the joint has been wrapped.
Successful application depends on treating surface preparation and wrapping as one controlled operation. The approved coating system, manufacturer’s instructions, and project specification govern the required surface condition, primer, overlap, layer sequence, and inspection. Where those documents differ or do not address a field condition, stop and obtain clarification rather than substituting a familiar practice from another tape system.
Check the joint before opening the tape
Confirm that the selected field-joint system is approved for the pipe coating, operating temperature, installation conditions, and intended service. Pipeline coating tapes are supplied as different systems, including products that require primer and separate inner and outer wraps. A tape that performs acceptably over one factory coating is not automatically suitable over another, and components from different systems should not be mixed without approval.
Identify the exact area to be coated: the exposed steel around the weld, the transition at each factory-coating cutback, and the specified distance onto the sound parent coating. The tape must bridge changes in diameter at the weld and coating edges without leaving an unsupported gap. Check that the joint geometry, including weld reinforcement and any irregular features, is within the coating manufacturer’s permitted limits.
Confirm that welding, weld inspection, and any required weld repairs are complete before coating begins. Remove temporary markings, debris, and other materials that would interfere with surface preparation. If the factory coating is loose, damaged, disbonded, or contaminated near the cutback, treat that condition under the approved repair procedure before relying on the tape to form the transition.
Store and condition the tape and primer as the manufacturer requires. Cold or overheated materials can behave differently during application, affecting tack, flexibility, and the ability to maintain controlled tension. Check shelf life, container condition, and identification before use; a damaged roll or primer of uncertain origin introduces a variable that visual inspection of the finished joint cannot resolve.
Prepare both the steel and the coating transition
Clean the exposed steel to the cleanliness and surface-profile requirements stated for the approved system. Depending on the specification, preparation may involve abrasive blasting or an approved power-tool method. The choice is not interchangeable: the required cleanliness and profile are intended to give the primer or adhesive an appropriate surface for bonding.
Before mechanical preparation, remove oil, grease, and other contaminants using the specified cleaning method. Blasting or power tooling over contamination can spread it or force it into the surface rather than remove it. Water-soluble salts may also remain after visible dirt and rust have been removed; where the project requires salt testing and cleaning, complete those steps before coating.
Pay close attention to the weld and heat-affected area. Weld spatter, sharp projections, slag, and rough edges can prevent intimate contact or create local stress points beneath the wrap. Remove or smooth them to the extent permitted by the welding, coating, and project procedures. Surface preparation must not remove an unacceptable amount of metal or alter the weld beyond the applicable limits.
The existing factory coating needs preparation too. Clean and prepare the overlap area using the method approved for that coating and tape system. Some systems require abrasion to improve adhesion; others specify a different treatment. Do not assume that aggressive grinding is beneficial: it can damage or thin the parent coating and create another repair area.
Examine the cutback edges. An abrupt or damaged edge can make it difficult for tape to conform, particularly when the wrap moves from bare steel onto a thicker factory coating. Prepare the edge profile as specified and remove loose material. Any required filler, mastic, or transition treatment must be an approved part of the system, not an improvised way to conceal an unsuitable surface.
After preparation, remove dust and abrasive residue from the steel, the weld, and the prepared factory coating. Check the surface under adequate lighting. A clean-looking joint can still fail the specified profile, salt, or dust requirements, so use the prescribed inspection methods rather than appearance alone.
Control moisture, temperature, and primer condition
Apply the coating only when the pipe surface and surrounding conditions are within the approved limits. Check surface temperature, air temperature, relative humidity, and dew point as required by the project. A surface close to the dew point can develop condensation even when it initially appears dry. Rain, mist, and windblown dust can also contaminate a prepared joint before tape application.
Where heating is permitted, use the approved method and verify the steel temperature. Heating must not damage the factory coating, the tape, or the primer. Avoid introducing combustion products or moisture onto the prepared surface, and allow any heated joint to reach the application conditions specified for the system.
Minimize the time between final preparation and priming. If flash rust, moisture, dust, or other contamination appears, stop and restore the surface in accordance with the procedure. Covering a deteriorated surface with primer does not restore the required cleanliness.
Mix and apply the specified primer at the stated coverage and film condition, including the prepared overlap area where required. Too little primer can leave uncoated patches; excessive primer can delay drying or leave a weak layer beneath the tape. Use clean applicators and do not add thinner unless the manufacturer permits it.
Respect the required drying or tack condition and the allowable interval before wrapping. “Dry” and “tacky” are not interchangeable instructions: different products require different surface conditions. If the primed joint becomes wet, dirty, or exposed beyond the permitted interval, follow the approved reconditioning procedure before continuing.
Set the overlap before the first turn
Overlap is the portion of each tape turn that covers the preceding turn. It determines how the tape builds up over the joint, but it is only one part of the specified construction. The required number of layers also depends on the tape width, the wrapping pattern, the application angle, and any separate inner and outer wraps.
As an illustration, a nominal 50% overlap means that each new turn covers half the width of the previous turn. On a 100 mm-wide tape, the intended visible advance is approximately 50 mm per turn. A nominal two-layer build can result over the central, regularly wrapped area, but the start, finish, transitions, and changes in angle require separate attention. This example is a way to understand the geometry, not a default requirement for every product.
Higher overlap does not necessarily improve a joint. Excessive overlap can create additional thickness, ridges, uneven pressure, and material consumption, while insufficient overlap can leave a thinner-than-specified coating. Neither condition should be accepted merely because the steel is no longer visible.
Mark or otherwise establish the required start and finish positions on the prepared factory coating. Confirm the specified overlap onto the parent coating at both ends; this axial distance is different from the overlap between successive tape turns. Confusing the two can produce a regular-looking wrap that does not extend far enough onto the factory coating to form the intended seal.
For a helical wrap, keep the angle and forward travel consistent. A simple field check is to observe the exposed width of the preceding turn: changes in that width indicate that overlap is changing. Where access permits, use a suitable guide or wrapping tool to help maintain the specified pattern. Around the underside of the pipe, restricted clearance can make the operator alter the angle without noticing, so inspect that area as carefully as the top.
Wrap with controlled tension and full contact
Start the wrap in the direction and position required by the approved procedure. Remove the release liner as directed, without allowing the adhesive face to contact soil, gloves contaminated with dirt, or other surfaces. Keep the roll aligned so the tape enters the joint smoothly rather than being pulled sideways.
Apply the specified tension consistently. Sufficient tension helps the tape conform to the pipe and weld profile, but excessive tension can stretch or narrow the material and may affect long-term behavior or measured overlap. Do not use maximum hand force as a substitute for a specified application method. If a tool is prescribed, use it within its operating instructions.
Press or roll the tape as required to promote contact and expel trapped air. Work across the weld and cutback transitions without bridging over recesses or sharp changes in profile. A smooth exterior does not prove complete contact: a tented section may span a depression while concealing an air pocket underneath.
Where the system uses an inner corrosion-protection wrap and an outer mechanical-protection wrap, apply each in the specified sequence, direction, overlap, and tension. An outer wrap is not a substitute for a defective inner layer. Repair the underlying defect before covering it, using the manufacturer’s approved method.
Handle roll changes deliberately. Secure and finish the end of the first roll, then start the next roll with the specified end overlap and orientation. Loose tails, exposed adhesive, and poorly pressed splice areas can create paths for lifting or contamination. The same care applies at the final end of the wrap: finish and secure it as specified rather than relying on an unapproved piece of tape to hold it down.
Inspect the joint before it is covered
Inspect the completed wrap around the full circumference and across both factory-coating transitions. Look for wrinkles, gaps, lifted edges, trapped air, tears, contamination, inconsistent overlap, and damage caused during application. Pay particular attention to the underside, the weld profile, roll splices, and the start and finish points.
Verify dimensions and construction against the approved procedure: coverage onto the parent coating, overlap between turns, layer sequence, and any required thickness or other checks. If overlap was not controlled during wrapping, the finished surface may make it difficult to reconstruct exactly what happened beneath the outer layers. In that situation, inspection records and the approved acceptance procedure matter more than an assumption based on appearance.
Carry out holiday detection, adhesion checks, or other tests only where specified, using the method and equipment settings approved for the coating system and project. A holiday test is not a universal substitute for checking surface preparation, overlap, or adhesion. Incorrect test settings can also damage a coating or make the result unreliable.
Do not bury, lower in, or otherwise conceal a rejected joint. Mark the defect and repair it under the approved procedure. A small surface defect may be repairable locally if the system permits; contamination, inadequate preparation, or widespread incorrect overlap may require removal and reapplication. The decision should address the cause, not just the visible symptom.
Record the joint identification and the checks required by the project, including preparation conditions, coating materials and batch information, application conditions, inspection results, and repairs. Protect the accepted coating from handling, lifting equipment, backfill, and other damage until installation is complete. A properly wrapped joint remains vulnerable if the finished coating is cut or displaced before the pipeline enters service.
Related Industries
Trending in Tech
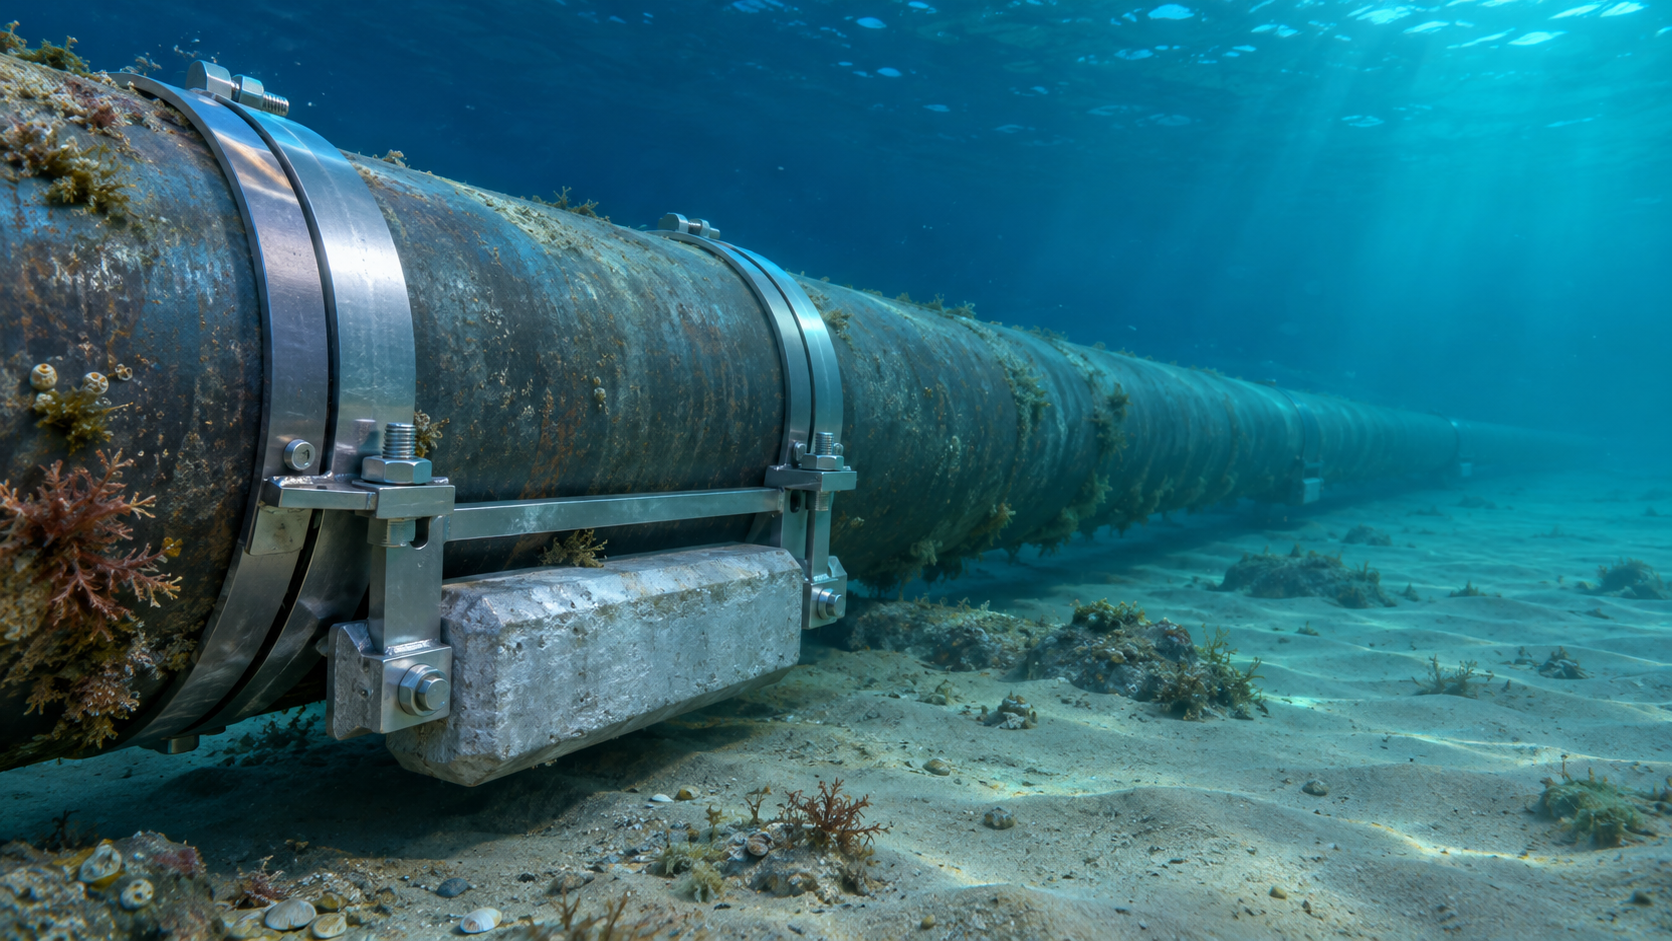
 Subsea Anode Retrofit Clamps: Sizing for Corrosion Protection LifeNov 06, 2026
- Global Project Radar: Tracking Pipeline Projects From Bid to AwardNov 06, 2026
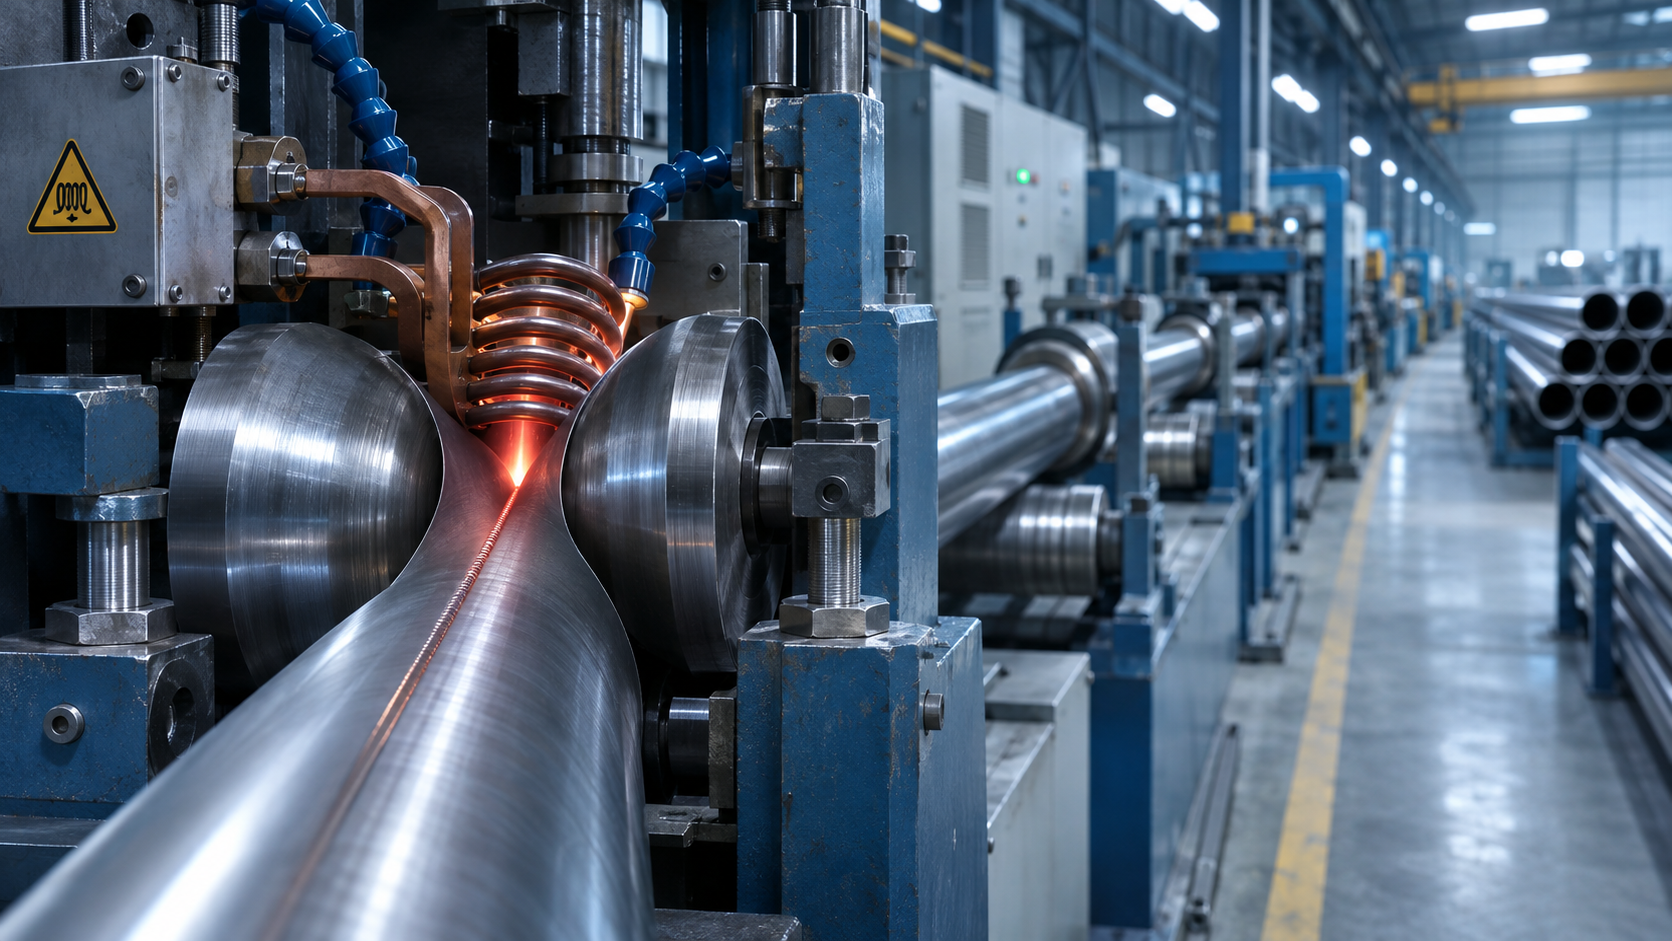
- High-Frequency Induction Welded Pipe: Weld Quality and Heat InputNov 06, 2026
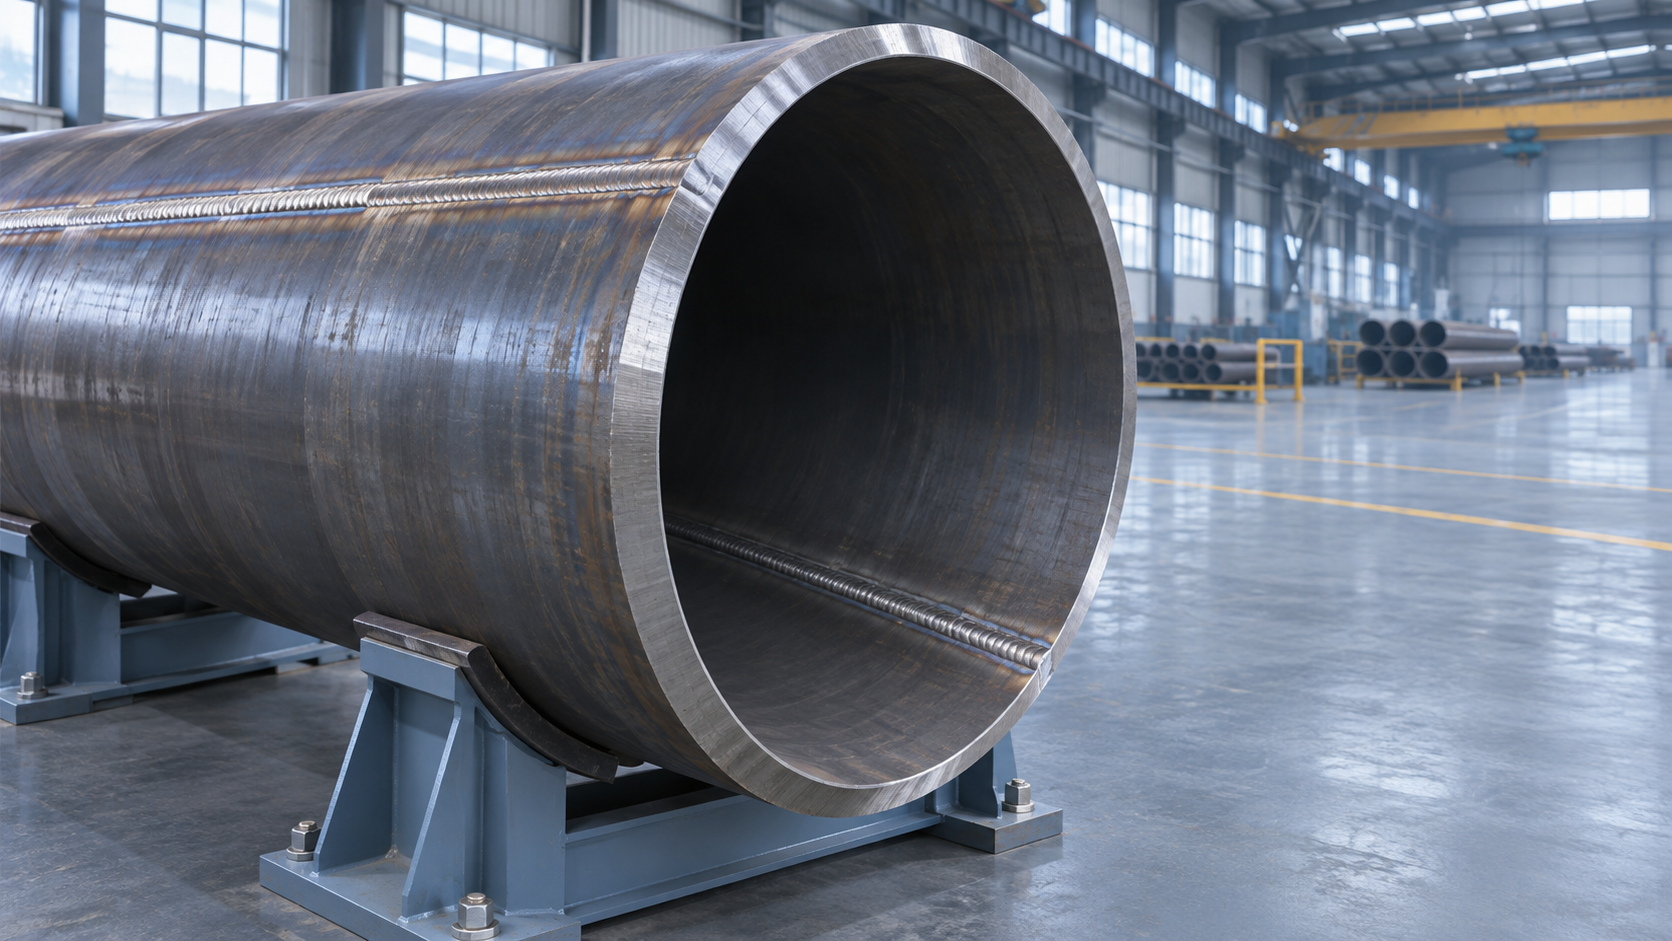
- Double Submerged Arc Welded Pipe: What to Check Before OrderingNov 06, 2026

Weekly Insights
Stay ahead with our curated technology reports delivered every Monday.
Questions about pipe blasting or corrosion protection? Leave a message for technical insights from GPIC.
We respect your privacy. Your information is strictly confidential.
Recommended News